
You picked the perfect blush pink in the store. On the wall, at 7 p.m., it looks grey, purple or tired. Most “wrong pink” stories are not the paint’s fault. It is the light, the prep, or one heavy coat. Before you paint, run these three engineer checks.
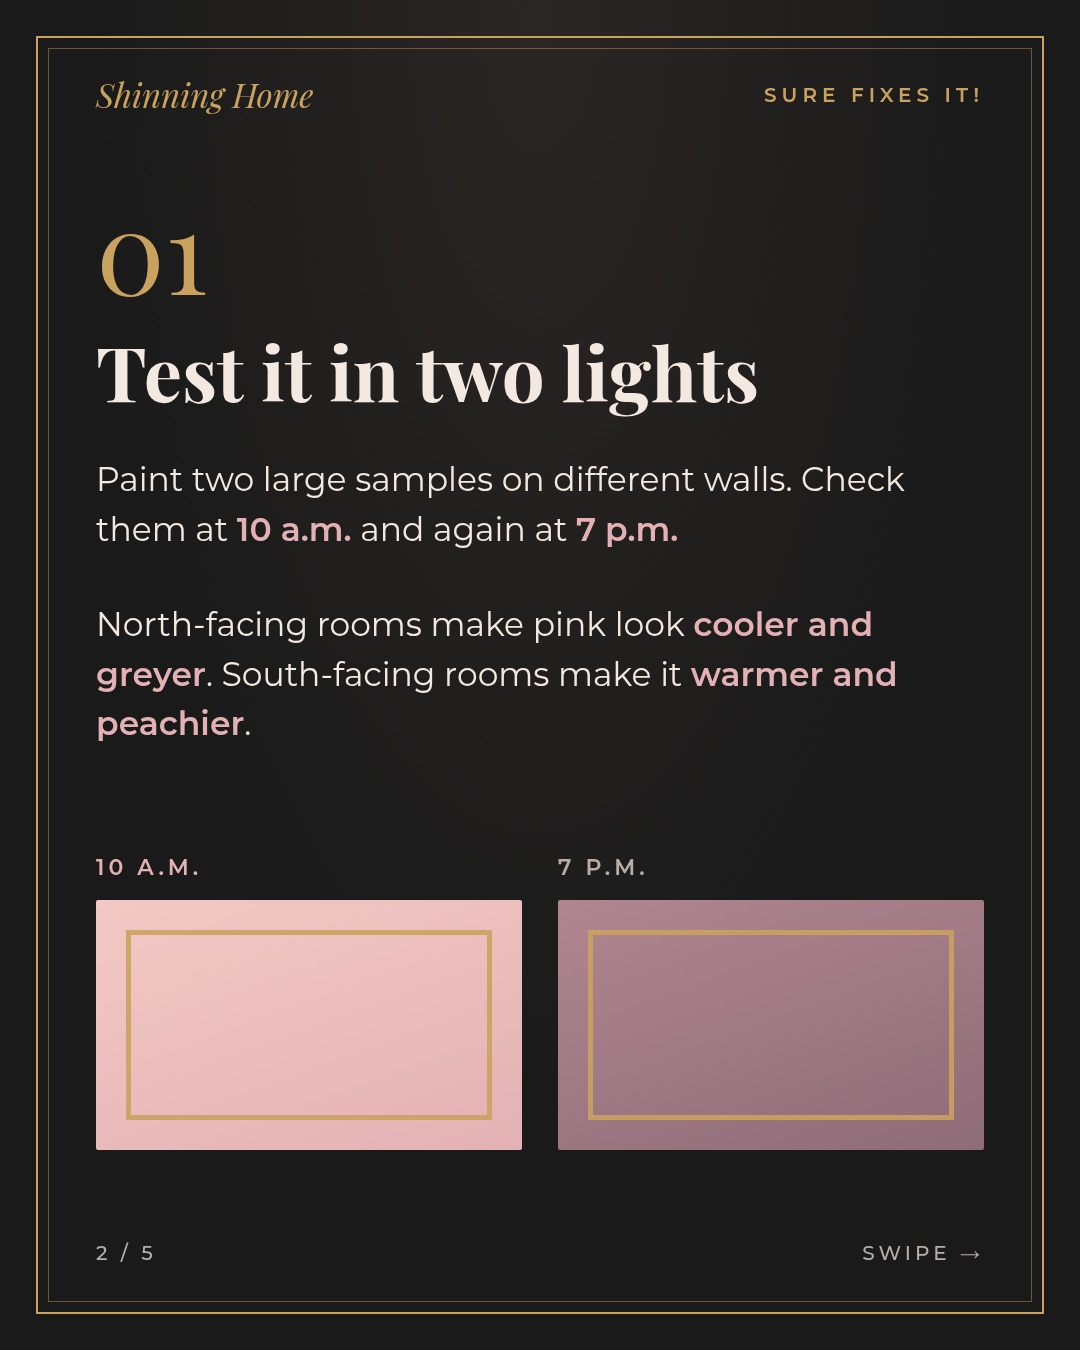
1. Test it in two lights
Colour is light bouncing off a surface, so the same paint changes with the light in your room. Paint two large samples, about 60 × 60 cm, on different walls. Look at them at 10 a.m. and again at 7 p.m. with your lamps on.
- North-facing rooms get cool, indirect light that makes pink look cooler and greyer.
- South-facing rooms get warm, strong light that makes pink look warmer and peachier.
- Your bulbs matter too. Warm-white bulbs push pink toward peach; cool-white bulbs push it toward grey or lilac.
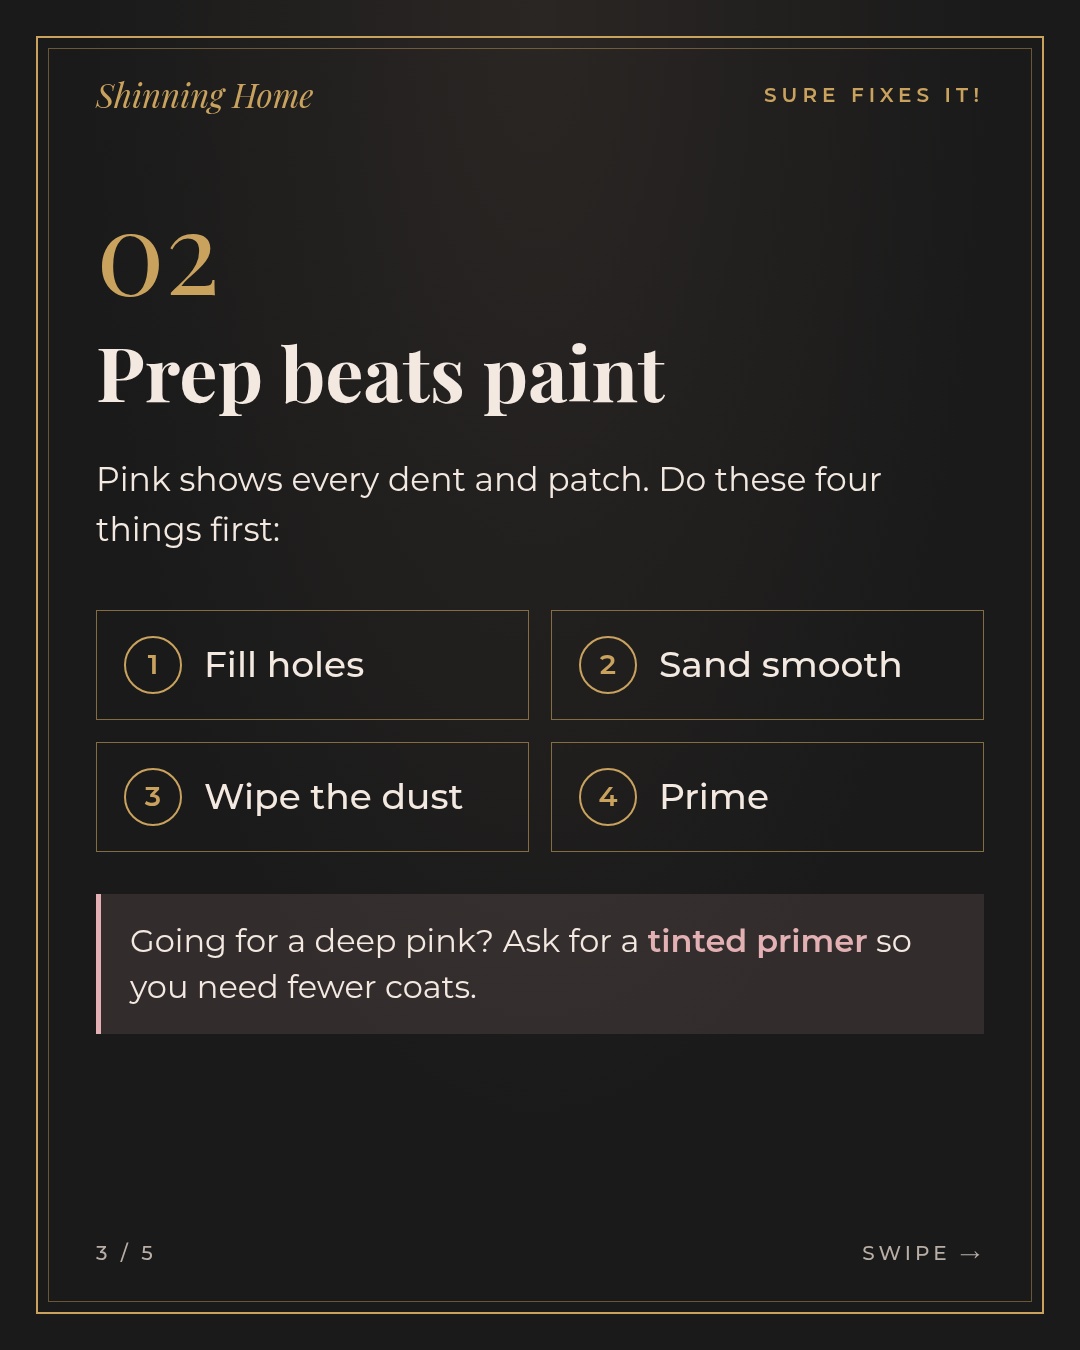
2. Prep beats paint
Soft, light colours like pink show every dent, patch and roller mark. Do these four things before the first coat:
- Fill holes and cracks.
- Sand the filler and any rough areas smooth.
- Wipe away the dust.
- Prime patched areas, or the whole wall if the old colour is dark or very different.
Going for a deep pink? Ask the paint store for a tinted primer. It brings the wall closer to the final colour, so you need fewer coats.
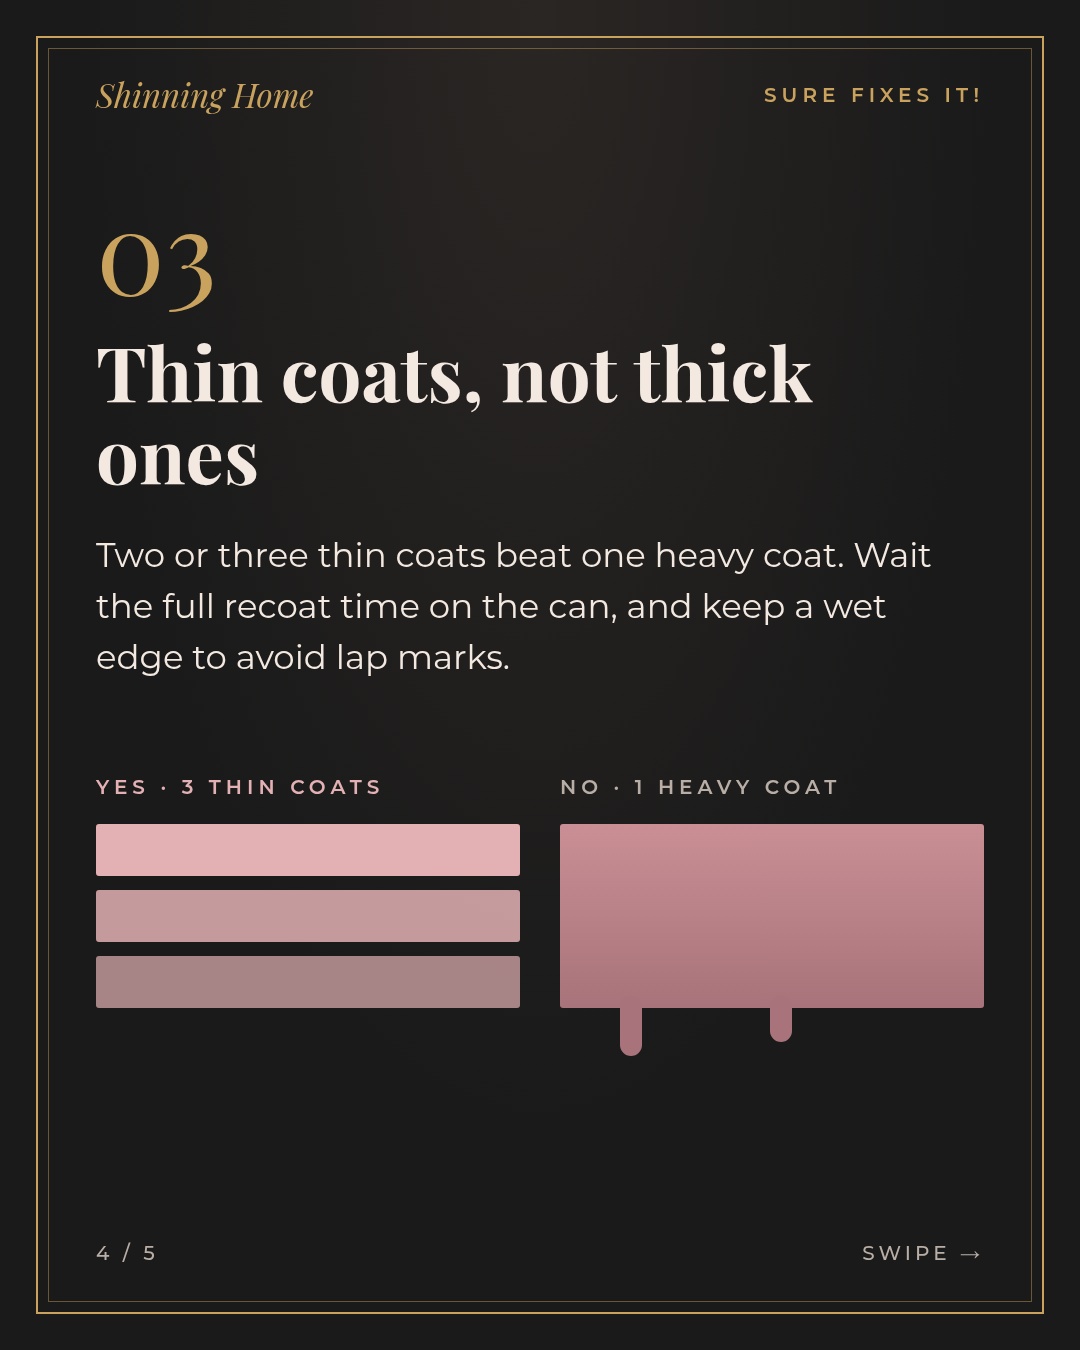
3. Thin coats, not thick ones
Two or three thin coats beat one heavy coat. Thick paint sags, drips and dries unevenly. Wait the full recoat time printed on the can, and keep a wet edge as you roll, so each section blends into the last instead of leaving lap marks.
Not sure which pink?
Send us a photo of your room and Sure will suggest the right shade for your light, free. Message us on Instagram or use our contact page.
You do not need a fairy tale to live in the castle — you need an engineer.
Leave a Reply